

A guide to performing Keyword Spotting on Microcontrollers using Edge Impulse


Table of contents

No headings in the article.
This tutorial will go through the steps you need to build a Keyword spotting application. In our example, we will build an application that can detect when a person is in distress and needs help by detecting the Keyword Help
Keyword spotting is the process of identifying specific words or phrases in audio or video data. This can be useful in a variety of applications, such as speech recognition systems, surveillance systems, and automated transcription services. Keyword spotting algorithms typically involve training a machine learning model on a large dataset of audio samples to learn to recognize the keywords of interest. The model can then be used to analyze new audio data and identify instances of the keywords in real time.
DATA ACQUISITION.
First, you will need to download the Google Speech Command dataset and unzip the file.
Create a new folder on your computer and name it kws-dataset.

Navigate back to the extracted speech commands dataset, cut the extracted folder and paste it into your newly created folder.

Open the speech commands dataset, and you will see folders containing keywords that were collected. Cut the background_noise folder and paste it outside the main speech commands dataset. The main reason is that we will be using these sounds to augment our custom keyword and therefore it needs to be outside the main dataset.

Inside the folder, create a new custom_keyword folder. This is where you will save your custom keywords once they have been preprocessed.

In this next step, you need to collect your keywords using a microphone of your choice and transfer the sounds to your computer.
Download and Install Audacity and then open your recorded sounds. Your sounds should be in a format accepted by audacity, I prefer to use the .wav format. If not convert the audio files and then open them with Audacity.
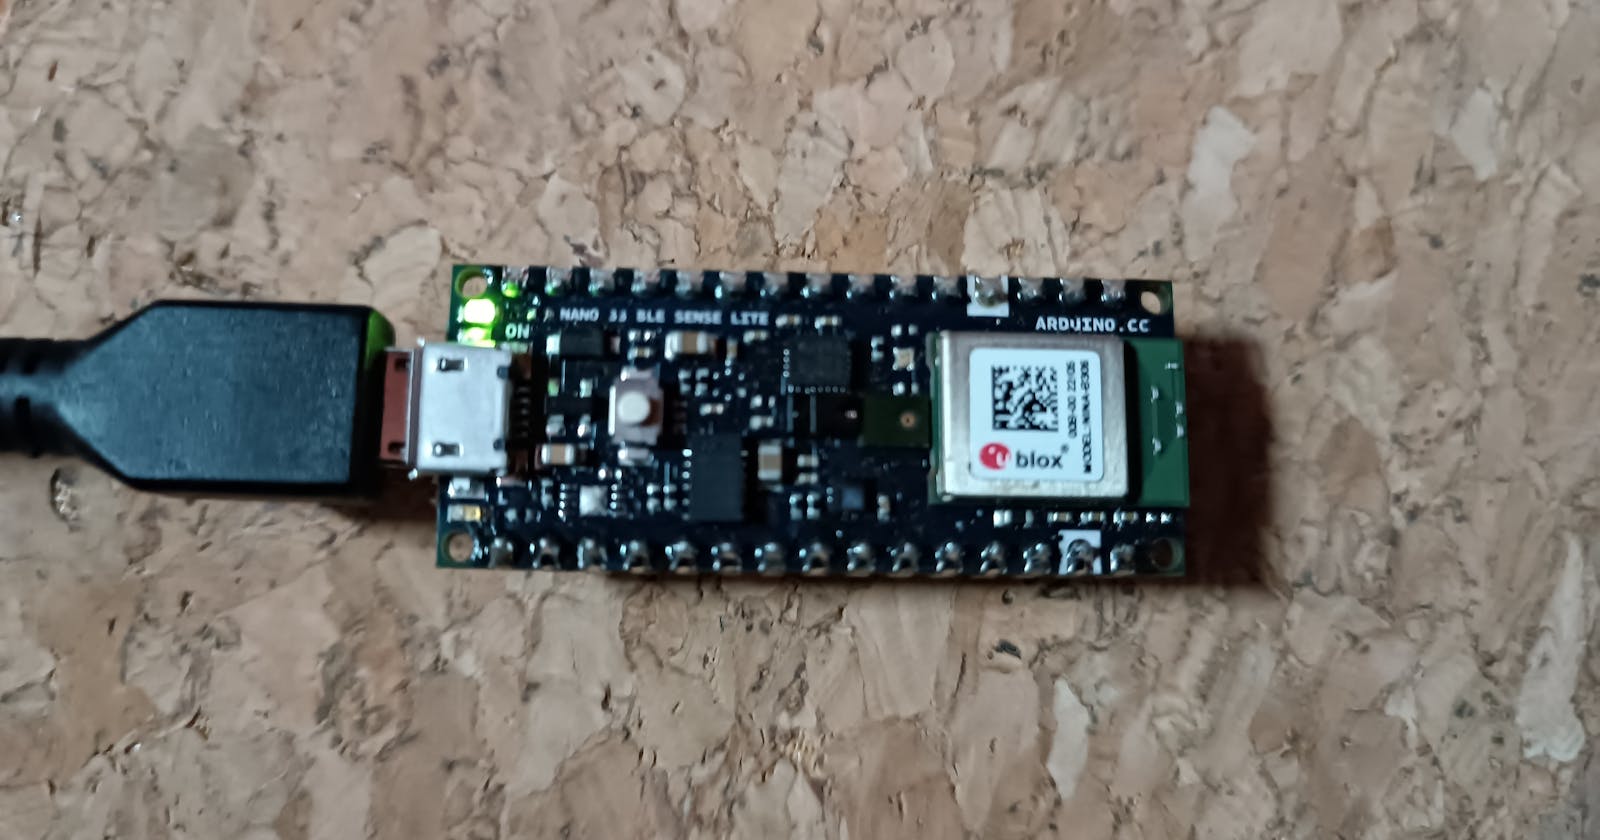
At the bottom of the screen, select the Project Rate (HZ) and change the sampling rate to 16000 HZ. This is because our target device which is the Arduino Nano 33 BLE sense has a microphone with a sampling rate of 16kHZ.

On the top bar of your computer, select Tracks> Resample just to ensure that your audio has been resampled to 16kHZ
Select a 1-second section of the audio from your sound with your Keyword. At the bottom bar of your software, change the time to seconds and use the start and length of selection.
Click File>Export>Export Selected Audio Save the sample as a 32-bit Wav file.
I used ‘Help” as my keyword and will save this sample in a new folder, named ‘Help’ inside the custom_keyword directory. If you want to collect more than one Keyword, you can create new folders for them inside the custom_Keyword directory.


You can repeat this process sampling as many sounds as enough for your audio model.
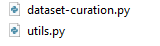
The next step is we need to mix our custom_keyword with the background noise to have more augmented Keywords. Thanks to Shawn Hymel, we will use his script to curate this data. Navigate to this repository and download the zip file and extract the files or clone the repository. Cut the dataset_curation.py and utils.py and paste the scripts into a new folder.
Install Python if you don't have it and from the terminal use pip to install, the following libraries.
Numpy
Librosa
Soundfile
Shutil
|
From the terminal, Navigate to the directory where you stored your python scripts. You can replace the line below with the name of your directory.
|
We will then run the data-curation.py script and define the keywords we want to be mixed with the background noise. In my case, I chose ‘help’. You can choose your keywords from the google speech command dataset.
The number of samples we want in our new curated-n 1000 dataset, the sampling rate, r at 16,000Hz, the background noise g, at 0.1, the sample time s, at 1.0 secs and the Bit depth e, at 16 because Arduino BLE our target device samples at 16 bit and the input directories containing the keywords we want to mix. Click enter and wait for the script to run.
|
Once done, you can check your output directory and should see the folders named your target Keywords curated. The unknown directory contains keywords that are not the target words, while the noise contains various strange sounds.
Your data is now ready to be used

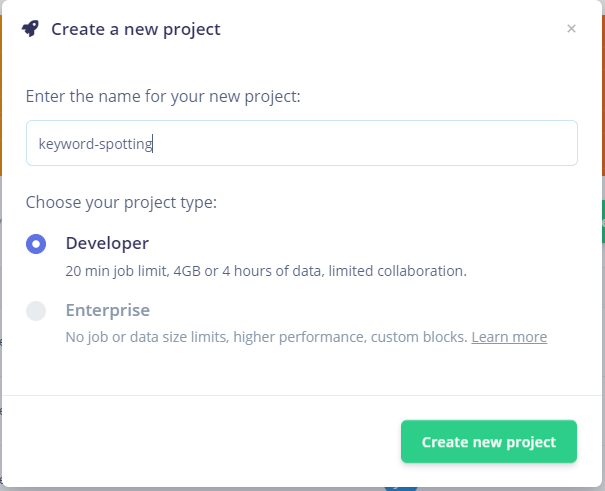
We will be using the Edge Impulse platform to build and deploy our model to Arduino Nano BLE. Create an account at edgeimpulse.com and start a new project.
We will be dealing with audio data, so you can choose audio as the type of data.
Next step we need to import the data that we had curated before. Head to the Data Acquisition tab, choose files, and upload the existing data. Navigate to the directory with all your curated keywords, select all the files and upload them to the edge impulse platform. Do this for all the keywords including noise and background sounds.

IMPULSE DESIGN
Next, we need to design our impulse. Click the Impulse Design tab, add Audio MFCC as the processing block, and classifier as the learning block, and then Save the impulse.

Head to the MFCC tab Save the parameters and then Generate features from your dataset. Once completed you can view your data samples from the feature explorer.

Training
Next, we need to now train our model. Click the classifier tab, and you can tweak your parameters before training your model. I started with 50 epochs and a learning rate of 0.005.

This is the structure of the neural network architecture.

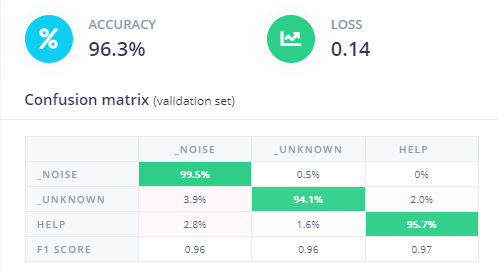
Once the model is done training, you can check the performance using the confusion matrix.
Deployment.
Next step, we need to deploy our model to our microcontroller. You can download the model as an Arduino library or you can build the firmware. Click Arduino library, scroll to the bottom, and build the library. EON compiler is enabled which reduces and optimizes the model to use less memory while still keeping the accuracy high. Once downloaded, you can upload and run the sketch in your Arduino to performing on-device inference.

Once you have compiled and uploaded the sketch, you can view the output results from the serial monitor.

Conclusion
In this tutorial you have learned how to:
Curate data for keyword spotting,
Build a keyword-spotting Tinyml model
Deploy to a microcontroller.
This project can be used to build amazing applications like a wearable to detect when someone is in distress and needs help.
You can now build cool Keyword spotting applications with Edge Impulse and Arduino BLE!
By Jackline Tum